
Pax Autocratica Weapons & Combat Guide
Choose weapons, manage ammunition, read weak points, and prepare soldiers for Pax Autocratica battles.
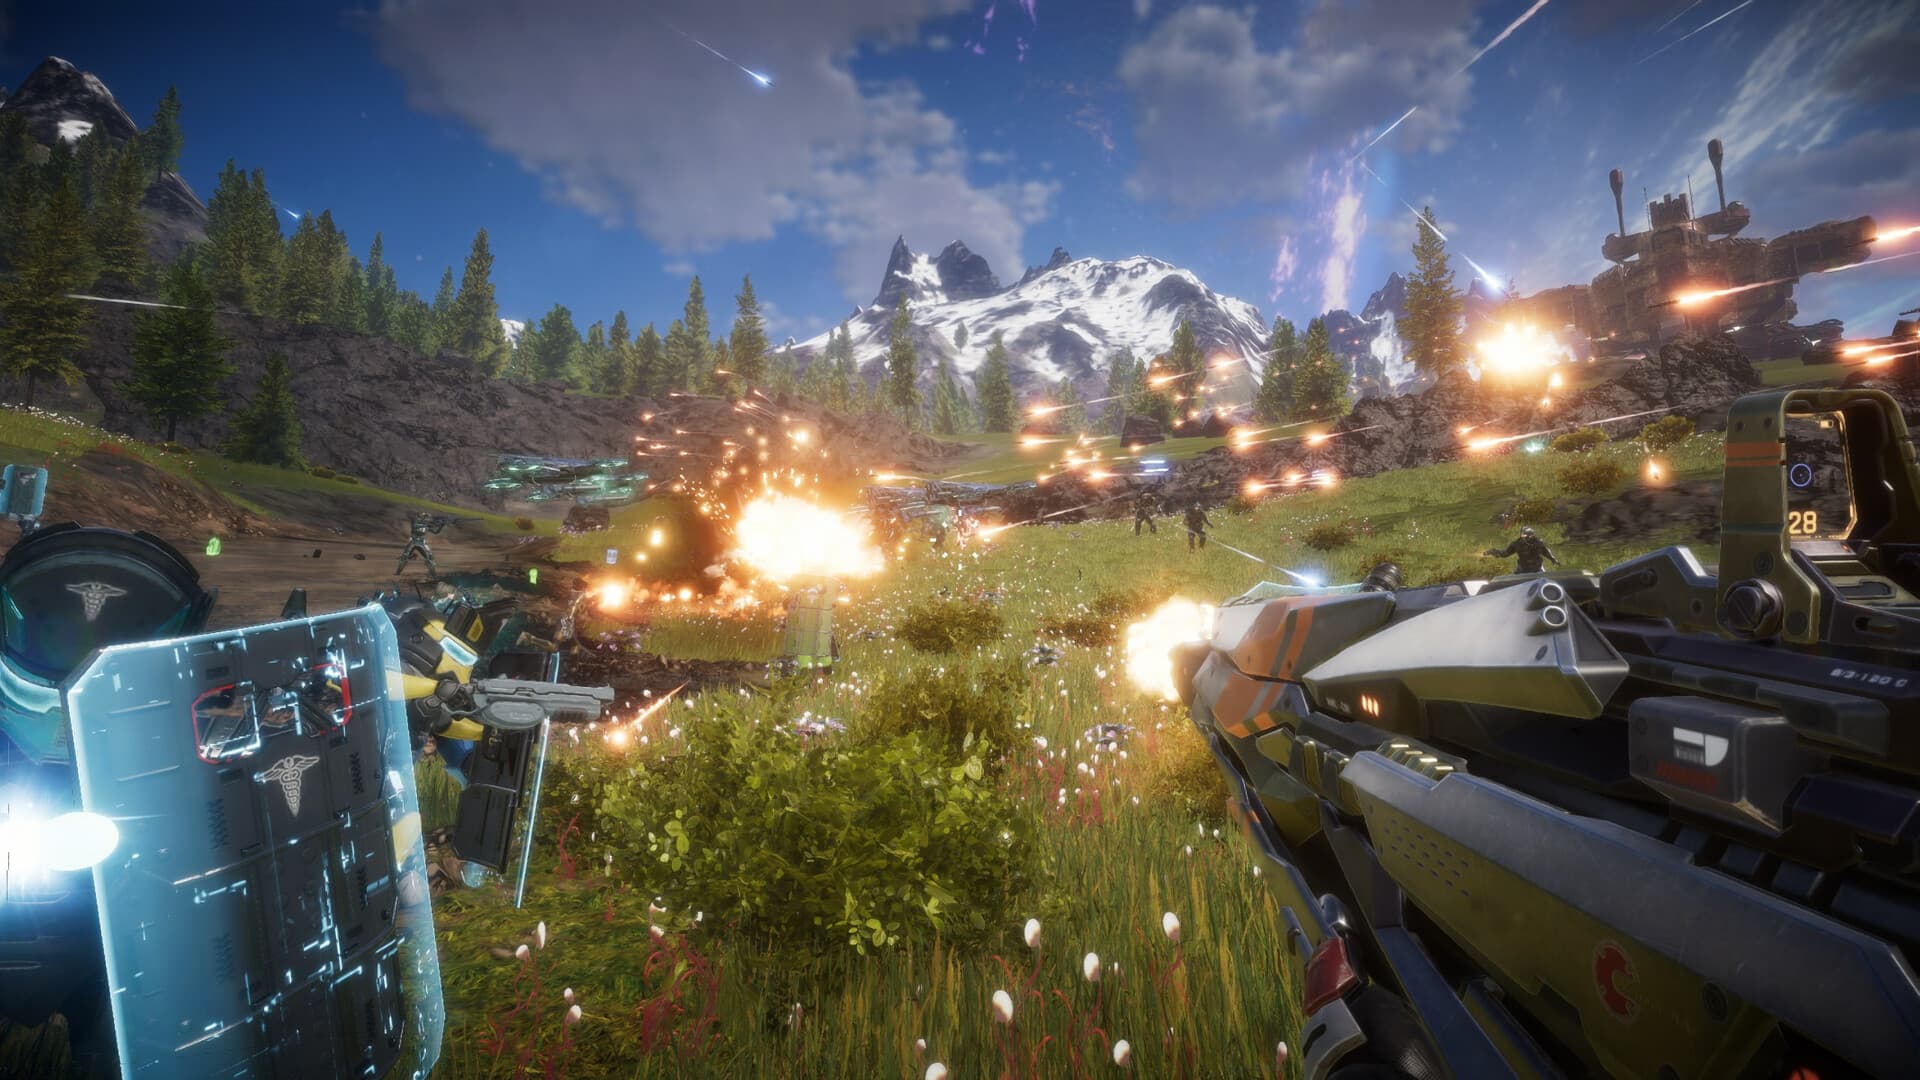
Pax Autocratica mixes first-person gunplay with commanded squads, vehicles, Core Fragments, and large mechanized encounters. This page is a combat decision guide, not a permanent tier list: weapon balance and enemy behavior are still changing.
Confidence labels
- Confirmed example means the item or enemy is named in current official material.
- Version-sensitive means an update documented the behavior at that date.
- Practical choice connects the confirmed behavior to a cautious loadout decision.
Combat overview
Three layers of every fight
Official material describes direct first-person combat, troop commands, and roguelite Core Fragments that modify a run. Read every encounter on three layers:
- Leader: weapon, ammunition, health, movement, active skill, and current Cores.
- Squad: position, target order, roles, surviving medics, and ability to revive.
- Battlefield: weak points, support objects, hazards, vehicles, and objective phase.
Read warnings before damage numbers
Official updates add enemy markers, weak-point indicators, attack warnings, a Hazard Index, Danger Zone warnings, and an Ineffective damage indicator. If damage is poor, stop firing at the same surface and look for the marked weak point, temporary weapon, or objective.
Confirmed weapon examples
Named weapons in official updates
| Weapon | Confirmed behavior or support | Practical use |
|---|---|---|
| Nebula Pistol | Has weapon-specific Core Fragments; reserve ammo was increased in one update | Flexible backup while preserving primary ammo |
| Nebula Assault Rifle | Tutorial default in one build; has weapon-specific Cores | General-purpose starting reference, not a guaranteed best weapon |
| Gratov Quantum Longbow | Pierces targets; damage falls after each pierced enemy in the documented build | Line up groups and prioritize the first target |
| Defensive Shotgun | Named weapon-specific Cores and official handling changes | Close-range option when the encounter permits safe approach |
| Laser Rifle | Official weapon Core Fragments were added | Use current Core text to understand its run-specific role |
Cores can change the answer
Weapon-specific Core Fragments modify behavior, and the Core selection changes during a run. Compare the weapon's current Core effects, the target type, and available ammunition rather than relying on a static ranking copied from another version.
Choosing for the encounter
Match the problem, not the rarity color alone
| Encounter problem | Confirmed clue | Loadout question |
|---|---|---|
| Infantry groups | Piercing and area effects exist | Can one shot or Core affect a line or cluster? |
| Tank or mech armor | Tanks have weak points; some encounters provide temporary armor-piercing weapons | Can the loadout reliably reach the marked weak point? |
| Turrets and mechanical legs | Official updates mention marked weak points | Is precision or safe burst damage more useful than spread? |
| Elite or boss capture | Advanced Capture Rounds exist | Have you separated capture ammunition from killing damage? |
| Long battle | Ammo drops and melee replenishment matter | Does the second weapon cover the first weapon's ammo weakness? |
Carry complementary tools
A practical loadout pairs a reliable general weapon with something that solves a different problem: armor, range, clusters, or capture. This is an inference, not an official two-weapon formula; use the current inventory limit and encounter briefing.
Ammo, stamina and survival
Plan ammunition before the first wave
Official updates state that melee kills can replenish ammunition, difficulty affects ammunition drops, and elites, bosses, or Sector Overlords can provide ammunition at health thresholds in the documented build. Melee is therefore a recovery tool, but only when the approach is safe.
Use the squad as a survival system
A crafted revival item can be carried on an expedition, and a surviving soldier can use it to revive the Leader. Medics can also heal or revive in documented builds. Protecting the squad is therefore not only about damage output.
Before a long encounter:
- Fill compatible reserve ammunition and bring a complementary second weapon.
- Craft and carry the currently permitted revival item.
- Identify medics or support soldiers before deploying.
- Confirm health, grenades, active skill, and capture ammunition.
- Keep enough movement space to reach pickups without crossing a marked hazard.
Enemy roles and counters
Confirmed standard roles
Official updates name Snipers, Berserkers, Medics, Shieldmasters, Scourgeborn Gunners, tanks, turrets, and mechs. They are examples, not a complete bestiary.
- Snipers: use cover and close the line of sight deliberately; official updates adjusted their range and attack frequency.
- Medics: prevent prolonged healing where possible; the store and updates confirm battlefield support roles.
- Shieldmasters: look for a weak point or angle instead of wasting ammunition into protection.
- Tanks: attack marked weak-point zones; an early official update says non-explosive hits outside weak points can be heavily reduced.
- Turrets and mechs: read attack warnings and target the displayed weak point or objective component.
Elite and boss modifiers
Elites and bosses may carry affixes, use heavier projectile patterns, or have phase-specific objectives. Do not assume the same counter works on every named boss. Read the objective marker, warning color, Ineffective feedback, and current phase before changing targets.
Battle preparation checklist
At the base
- Repair or replace the weapons you plan to use.
- Refill ammunition and craft Capture Rounds only if capture is part of the objective.
- Carry the available revival item and appropriate healing supplies.
- Deploy a squad that includes the needed range, support, or medic role.
- Check whether expedition storage has room for rewards.
On entering the battlefield
- Identify the objective, Hazard Index, enemy strength, and retreat option.
- Mark weak points and support objects in Command Mode where available.
- Position the squad before drawing a large group.
- Preserve melee as an ammunition tool only when the path is safe.
- Reassess the loadout after a Core Fragment materially changes weapon behavior.
Troubleshooting and sources
Common combat problems
- Damage shows
Ineffective: move aim to a marked weak point, check the phase objective, or use the temporary counter weapon supplied by the encounter. - Ammo disappears too quickly: stop overfiring, rotate weapons, secure safe melee kills, and collect drops before leaving the area.
- Squad ignores the desired target: regroup, reposition, issue one clear order, and account for current Early Access AI limitations.
- Capture target dies: separate killing ammunition from Capture Rounds and avoid melee after a failed attempt.
- Boss phase appears stuck: check the objective marker and destructible component rather than attacking the boss body continuously.
Related wiki pages
Official sources
Official weapon and expedition update